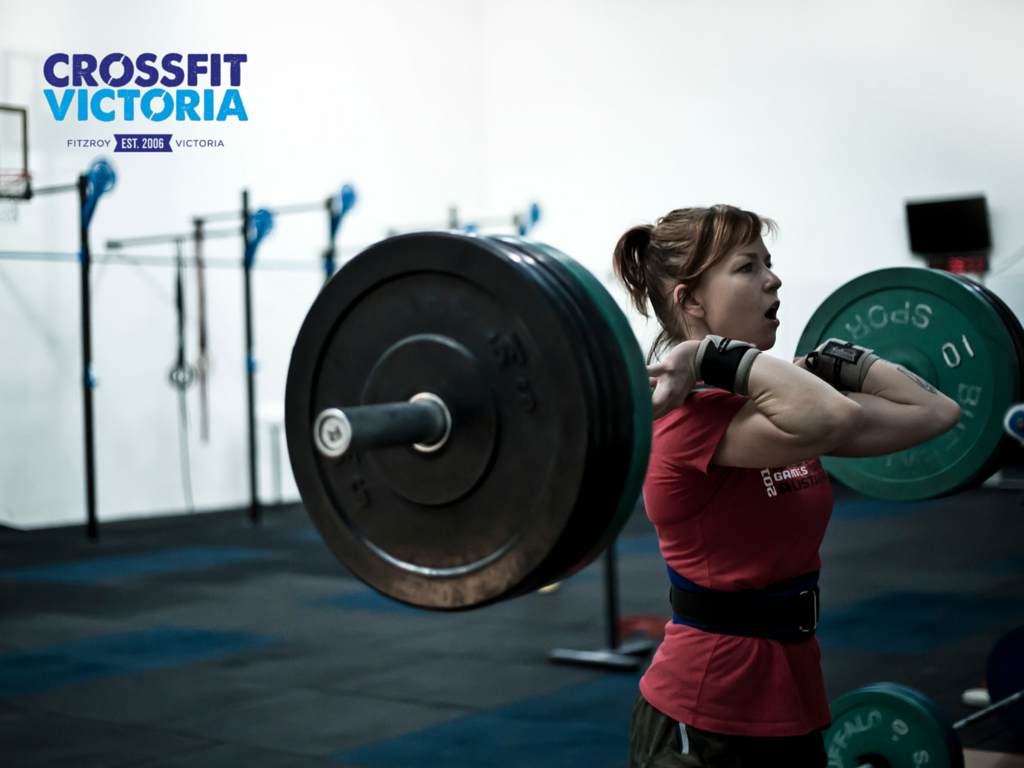
Squatting is one of the most functional and fundamental movements that we perform in CrossFit. Not only do we do it for just overall strength like in a back squat or a front squat, but we also use it in our Olympic lifts, and other movements like a thruster, a wall ball and even a high box jump.
For many of us, including myself, when we first start CrossFit our squatting mechanics are not the best. It can make all these movements that we tend to preform on a daily basis in the gym quite difficult and, at times, very frustrating.
The good news is that, with a little patience and dedication, these mechanics can be improved. Below I have identified a number key mobility exercises that, if performed regularly, will help increase your mobility and range of motion.
So, here starts your long, yet rewarding journey on improving your squat, through mobility and motor control!
First of all, what constitutes as a good squat? In the video below you will see a demonstration of a high bar squat. We use the high bar squat in CrossFit as it transfers over extremely into our Olympic lifting and other movements.
You will notice that he squats below (way below) parallel, his knees are pushed out and tracking over his feet and his upper body is in a strong and upright position. In order to achieve all these squatting points you need to have good ankle, hip and upper body mobility, so lets start from the bottom and work our way up!
Ankles:
Here is a crazy foot fact; during an average day of walking the total force that is placed on our feet and ankles can get up into the hundreds… Imagine just how much force we are putting through our ankles when we are in the gym performing box jumps, skipping, Olympic lifting, and jumping of bars. Pretty much everything we do in the gym will increase the amount of force in our ankles which can make them stiffen up.
So, how do we keep our ankles mobile?
I have two favourite drills. If you have come to any of my mobility classes you will probably know them well!
This is a great one for flossing the ankle joint and helping it move better. Attach the band to the squat rack behind you and wrap it around the top of your ankle. While keeping your heel down, apply a forward pressure on your knee. Move your knee back and forth so that it is on top of your ankle then in front of it as much as you can. If you like you can also place a kettle bell on top of your knee to help increase the movement.
Do this for about 90-120 sec on each side 2-3 times a week and before squatting/ Olympic lifting
Placing the lacrosse ball under your foot, you want to run your foot over the ball in a foreword and backwards motion as well as in a twisting motion. This will help release the fascia in your foot, which will help relieve tension in your ankle.
After releasing your foot, repeat the process on your calf. Tight calves can lead to extremely stiff ankles. Placing the ball under the main part of the calf apply downward pressure onto the ball. Sometimes you might have to place your other leg on top of it to help increase the pressure. Move the ball from the main body of the calf all the way down to your Achilles.

Do this for about 90-120 sec on both your foot and your calf and, if you can, I would do this everyday!! (Remember to smile through the pain!)
Hips:
Sometimes when squatting it might feel like your hips just do not want to play ball. They are stiff, painful and doesn’t matter how much you try to get to below parallel they just do not want to get there. Ugh!! It can be so frustrating sometimes! To help with this I am going to show you a clip from the mobility man himself, Kelly Starrett. This is a sequence that I try to hit once or twice a week to help combat my stiff hips!!
This is by far my favourite mobility drill to help loosen up the hips. There are many more and if you are interested in learning them I would suggest you come to one of my mobility classes on a Thursday and/or tee up a 30 minute personal training session with me. Once you start noticing the benefits of mobile hips when you’re squatting… you’ll be hooked!
Thoracic:
Last, but not least, is your thoracic mobility.
You might be a little confused as to why we must work on our upper body mobility when we are doing a squat, which is primarily seen as a lower body movement. If you remember in the previous video, in order to perform a good squat you must have a strong upright, upper body position. If you are tight in your thoracic spine (the area of your spine between the shoulder blades) this will be hard to maintain as you would find it difficult to pull your shoulders back and keep your chest up.
The most effective way to release through your thoracic spine is to use the ‘peanut.’ No, not the delicious food that we spread on bread (gluten free of course…), but two lacrosse balls taped together to resemble a peanut.
Lying on your back place the peanut so that the balls are on either side of your spine. Starting at the top of your shoulder blades, slowly make your way down the spine, one vertebra at a time, applying a downward pressure onto the peanut. Arms can be crossed in front of your chest, held behind your head or extended out over your head.

I would aim to do this every day if you have a tight thoracic and spend about 2 minutes working up and down the spine. Yes, it might take your breath away as it can be rather painful.
I have only touched on a handful of mobility techniques in this article. There are so many different mobility movements that will help improve your squatting mechanics. Remember, you must be patient! As with anything, increasing your mobility takes time and dedication – and it’s not always exactly pleasant! Just remember – be patient and you will be reaping the benefits in no time!
NB: If you are still having difficulties squatting then it might be a motor control (movement) problem. If this is the case please chat to one of your coaches, who will have a quick look at the movement for you and assess what can be done to improve it.
Happy Squatting!!!!
No Comments to "Mobility for Squatting – Amelia Thomsett, Head Coach at CrossFit Victoria"